Building a first form
We will now learn to build a first form. What you will achieve at the end of this tutorial is:
- Creating your flow in Penbox
- Creating the first elements in the steps of the form
- Using some basic pen-script expression
Connect to the platform
Use the Penbox account you just created.

Creating a flow
To create your first flow:
- Click on 'Studio'
- Click on 'Create a flow'
- Type a flow name and optionally a description of the form. Our AI assistant we create the form based on this description.
- Click on 'Create a flow'
Studio v2
When creating a flow you will automatically arrive in the Studio v2 interface. This interface allows you to develop flows in no-code. But at this moment you won't be able to create more dynamic and complex flows with it.
Feel free to play around in the Studio v2 for simple forms, but for the purpose of this training and for building more complex flows we will switch to the Studio v1 interface.
To access the Studio v1:
- Click on the menu button (3 horizontal lines)
- Click on 'Edit with Studio v1'
Studio v1:
When you enter the Studio V1 editor, you will have 3 sections:
- Snippets: we placed some snippets to help you when coding your form
- Flow configuration: this is where most of the work will be done. That's where you will be coding your flow !
- Preview: watch live what happens when you build your form. Easy to get a good sense of what you are doing and to do some testing !
.png)
Writing the first code
Let's build our first step within our Flow !
The structure of a step is as follow:
{
	"steps": [
  	{
      "label": "My step",
      "elements": []
    }
  ]
}
You can go ahead and copy-paste this code in your steps list:
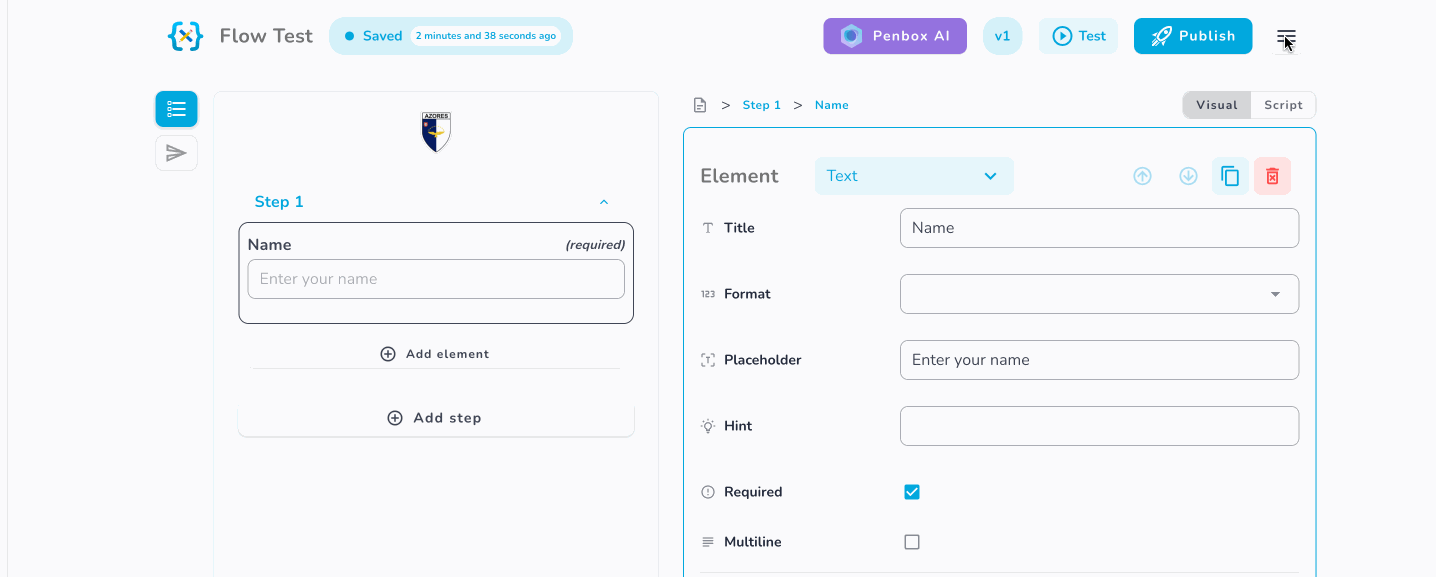
Let's now create your first element. Let's start simple with a text element. In order to do so, just add the following element in the list of elements:
{
  "label": "My step",
	"elements": [
    {
      "key": "data.my_key",
      "type": "text",
      "title": "My first input",
      "required": true
    }
  ]
}
That's a nice first step !
You can now save your form (CTRL + S works fine !):
Understanding elements
Elements are the fields in the form that will be displayed to your customer.
Elements always have the following attributes:
type: the type of the elementkey: the key name in which to store the input value
They very often have the following attributes:
title: text display above the elementlabel: text display inline of the elementrequired: determine if the field is required or not. The end-user will not be able to validate the form if no value has been provided in this field.
Note: there is card, paragraph and image types that does not require the key attribute.
Naming your element keys
The data captured within the form can be captured in two global dictionaries: user and data.
The user global can contain only a list of predefined fields. The most commonly used are user.given_name, user.family_name, user.email, user.phone. Some checks on the format are also made in order to make sure all the information is stored properly in the database. Make sure for instance to use a type phone when storing information in user.phone.
The data global is used to store the remaining data.
Adding elements to the flow
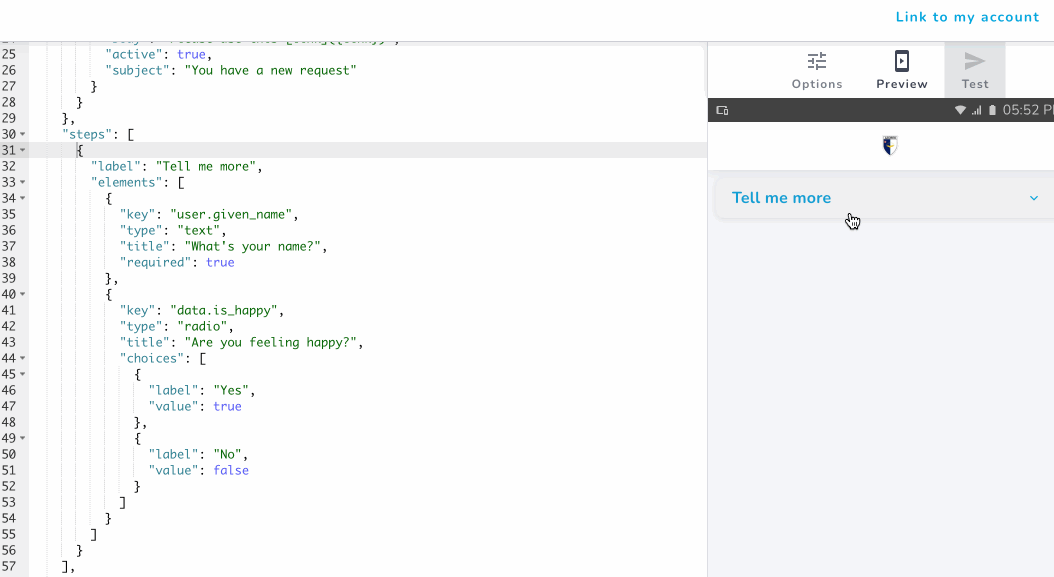
Let's add some elements in the flow:
- An input asking the name of the end-user
- A question to ask if the person feels happy or not
{
  "label": "Tell me more",
  "elements": [
    {
      "type": "text",
      "key": "user.given_name",
      "title": "What's your name?",
      "required": true
    },
    {
      "type": "radio",
      "key": "data.is_happy",
      "title": "Are you feeling happy?",
      "choices": [
        {"value": true, "label": "Yes"},
        {"value": false, "label": "No"}
      ]
    }
  ]
}
Using this code, you should get the following:
Adding some logic with pen-script
Let's now add some logic to the flow and make sure we are giving the best UX depending on the mood of our end-user.
Let's:
- Ask him a selfie if he is is happy
- Show him a nice picture if he is not
In order to do so, we can use the following code:
{
  ":if": "{data.is_happy}",
  ":then": {
    "type": "file",
    "key": "data.selfie",
    "required": true,
    "title": "Send us a picture of your happy face !"
  },
  ":else": [
    {
      "type": "paragraph",
      "content": "Here is a message from someone to make you feel better :-)"
    },
    {
      "type": "image",
      "src": "https://i.imgflip.com/6om5rd.jpg"
    }
  ]
}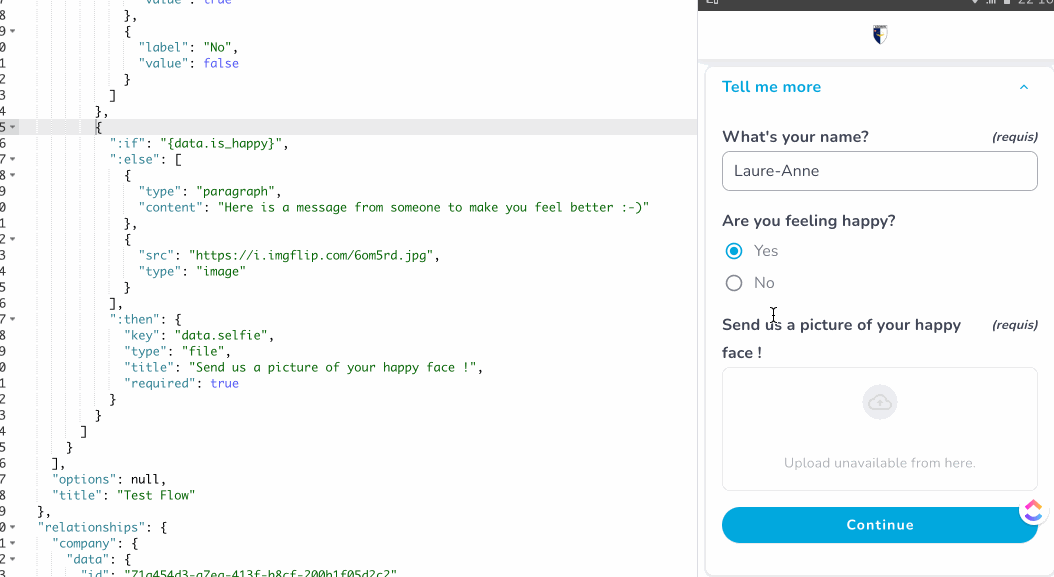
Let's take a few seconds to reflect on this code.
So, the pen-script expression used here is the :if:
{
  ":if": {},
  ":then": {},
  ":else": {}
}
It works like a "traditional if": evaluating the condition given in the if. Executing then if the condition is evaluated to true, executing else if the condition does not evaluate to true.
Then we have this code:
{ ":if": "{ data.is_happy }" }This evaluate to true or false depending on the value selected in the element associated with the key data.is_happy.
You can always look at the value of the variables and keys in the "Variable" tab in the studio:
.png)
🎉 You just finished your first flow ! Let's continue !
Updated 10 months ago